Navigating through the labyrinth of emails can sometimes be a daunting task, especially when important messages inadvertently land in your spam or promotions folder. But worry not! There’s a simple solution to ensure that crucial emails from specific senders always make it to your primary inbox: starring emails and adding senders to your contacts. Let’s delve into how you can achieve this in a few easy steps.
Step 1: Star That Email!
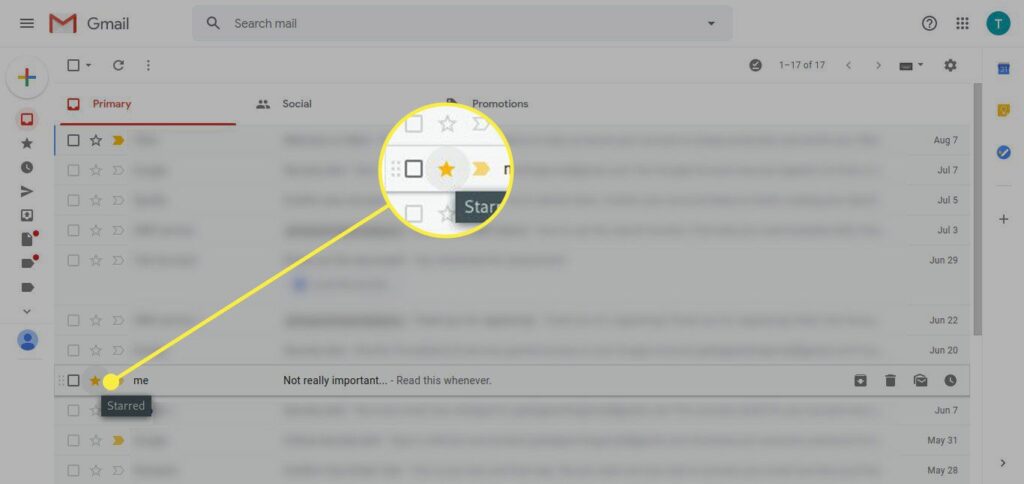
Starring an email is a straightforward way to highlight its importance and make it easily accessible.
🌟 How to Star an Email:
- On Desktop: Simply click on the star icon next to the email in your inbox.
- On Mobile: Open the email, and tap on the star icon usually located at the top of the screen.
Starring emails not only helps you to locate them easily in the future but also signals to your email provider that messages from this sender are important to you.
Step 2: Add to Contacts
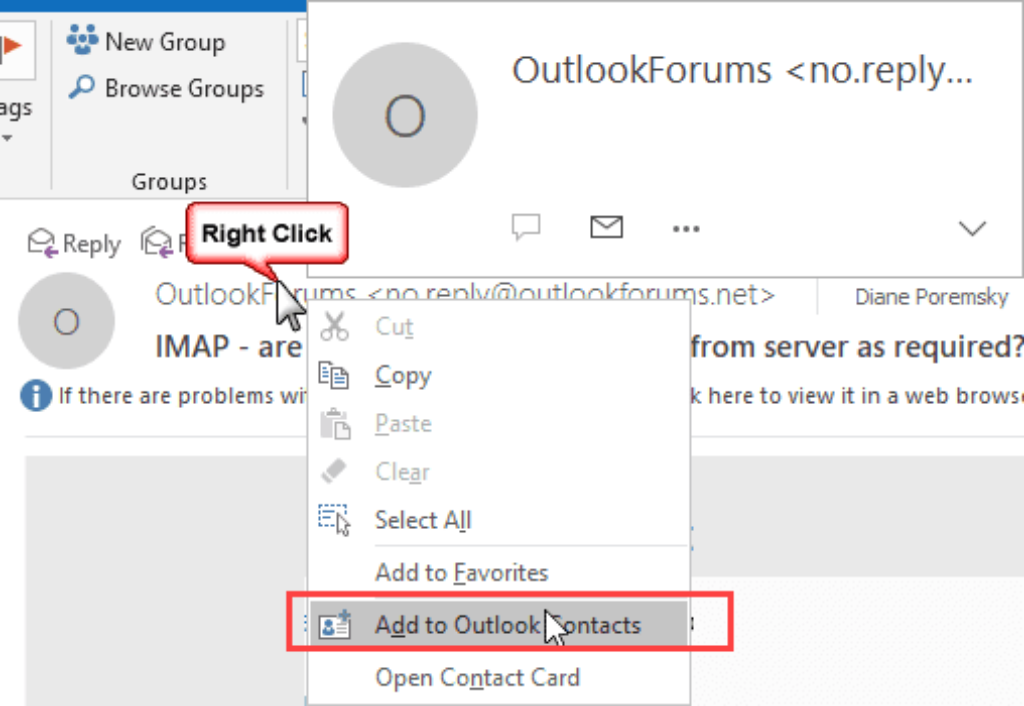
Ensuring a sender is in your contacts list is a key step to prevent their emails from being misrouted to spam or promotions.
📇 How to Add a Sender to Your Contacts:
- On Desktop: Open the email, click on the sender’s name or email address at the top, and select “Add to Contacts” or a similar option.
- On Mobile: Tap on the sender’s name or email address in the opened email, and look for an option to “Add to Contacts” or “Create New Contact”.
Adding a sender to your contacts not only safeguards their emails from being marked as spam but also often allows their messages to land directly in your primary inbox.
Step 3: Mark as Important (if applicable)
Some email platforms allow you to mark messages as important, further ensuring they reach your primary inbox.
📍 How to Mark an Email as Important:
- On Desktop: Open the email and look for an option (often an icon such as a flag or an exclamation point) to mark it as important.
- On Mobile: The process may vary, but typically involves opening the email and selecting a similar option to mark it as important.
Step 4: Create a Filter (Optional)
For an extra layer of organization, consider creating a filter to automatically categorize emails from specific senders.
🔍 How to Create a Filter:
- On Desktop: Open an email, navigate to your settings or options menu, and look for “Create a Filter” or a similar option. Specify the sender’s email and choose to always place their emails in your primary inbox.
- On Mobile: The steps might vary, but generally involve accessing settings and creating a filter or rule for specific senders.
Wrapping Up
By following these simple steps, you’re not only ensuring that important emails remain visible and accessible but also organizing your inbox in a way that prioritizes your most crucial communications. So, star away, add to those contacts, and never miss an important email again!
Remember: The exact steps and options might slightly vary depending on your email provider and platform, so be sure to explore and familiarize yourself with the specific functionalities of your email service.


